 Excellent curb appeal enhances your home’s exterior. If you're moving into a new home or looking to make significant lawn updates, you're likely thinking about installing sod. There is so much to consider when it comes to planting sod like cost, labor, the speed of results, and proper sod care techniques.
Starting from scratch with home projects can be overwhelming, especially when dealing with large yards. In this comprehensive guide, we will be teaching you about all things sod. Stay tuned to learn about the installation process, how to care for your new sod, and more sod care tips.
What is Sod?

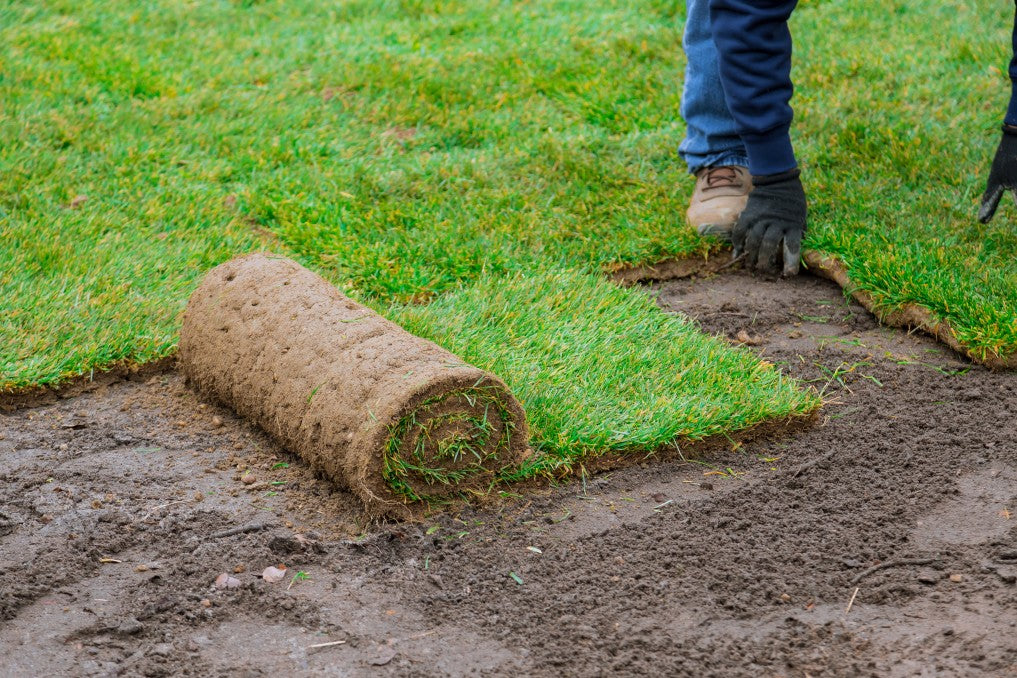
Sod is rolls of grass, sheared below the crowns of the plant at the roots, that is established and readily available for planting. For easy transport and installation, sod is sectioned into strips. This type of grass is held together through roots and other materials to maintain integrity during installation and create a ready-made lawn in a few easy steps. You can achieve a beautiful yard with well-planted grass and proper sod care.
Some homeowners may opt for sod instead of planting new seed because of convenience and easy maintenance. It tends to grow more evenly than new grass seed and doesn’t require as much effort to keep it looking nice.
If you’re looking into sod as an option for your lawn, stay tuned as we delve into everything you need to know about installing sod, caring for it, and comparing it to grass seed.
The Pros and Cons of Sod
The most significant part about installing sod is that you can go from having a dirt pile of a front yard to an established, green lawn in just a day. Before you choose between buying established turf or seeding a lawn, you will want to consider these factors: cost, maintenance, labor, and speed of results.

One of the best parts of using sod is how quickly the established turf can transform your curb appeal. The cost of sod can be expensive - especially when it comes to paying for professionals to install sod at your home. Though planting grass seed is a more affordable option, the results take time to come to fruition.
Another benefit of sod is that it requires less initial maintenance since the turf is established. Though there are still critical steps in sod care after installing sod, the right conditions are needed for seed germination to occur, no matter how much you prepare your soil. Lastly, installing sod is more labor-intensive than planting seeds.
Weigh your options and consider which grass coverage option is best for your yard. If you’re interested in learning more about seeding a lawn, we can help you get started.
The Best Time to Install Sod
Once you’ve decided to lay a new lawn, one part of proper sod care includes knowing the best time for installation. Before you begin to install sod, there are a few considerations you want to keep in mind, such as the season.
 The good news is that the time frame to install sod is relatively wide. You'll want to avoid laying sod in freezing temperatures, or the new grass will be shocked by the immediate weather change and possibly die out. You also don't want to install sod when it’s too hot out, say above 90 degrees.
To avoid these two temperature extremes, aim to install sod in the late spring or early summer. Choosing the right season to lay your lawn will increase the chance of that turf surviving.
Sod Care Tips: Pre-Install
Preparing your lawn before laying sod will set your new grass up for a successful planting and growing season. For the new turf to properly adhere, there needs to be a clear path for the grass to marry its roots with the soil.
Before you start to install sod, follow these sod care steps to prep your lawn:
-
Remove debris to clear the ground

- Test soil and fertilize as needed
- Loosen and soften the soil
Clear Your Yard
Clearing the ground is an essential step to prepare your lawn for new turf. Ground clearing is all-encompassing; remove all old grass, weeds, rocks, and other debris. When removing any grass, make sure it is dug up from the roots to prevent future growth. If you want to avoid digging up grass roots, you can try the smother method, which blocks the sun, water, and other elements needed for grass to produce the necessary food materials to survive.
Debris-free soil may look like it's ready to house new grass, but the best way to know is to conduct a soil test. A soil test will let you know of any nutrient imbalances. In this case, you can take action with a lawn food application to restore nutrient balance in the soil.
Fertilize

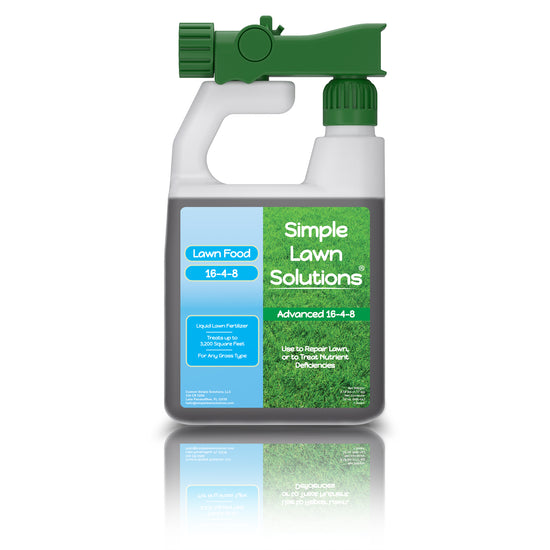
Our liquid fertilizer treatments are quickly released and fast-absorbing, so you can apply this lawn treatment a few days before installing sod. Our 16-4-8 Liquid Fertilizer is excellent starter fertilizer for sod because it promotes growth, greenness, and strength.
Learn more about choosing between liquid vs. granular lawn fertilizers. Implementing a lawn fertilizer before installing sod will make the post-install sod care go more smoothly.
Aerate Before Sod
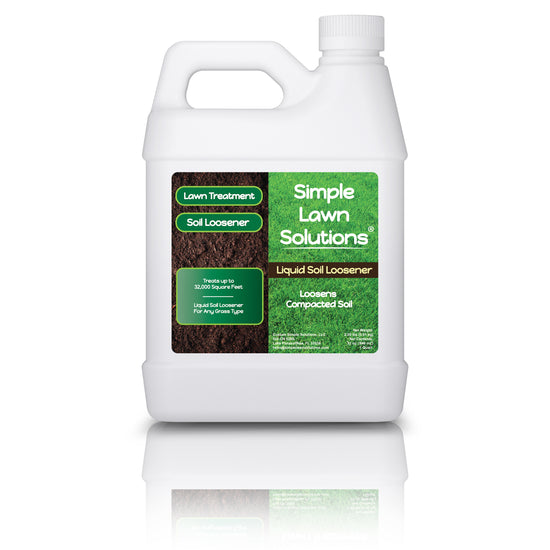
Both seeds and sod cannot properly germinate in dry, compacted soil. The last step to preparing your yard for new turf is to loosen the ground. You can soften soil by using a tiller or opt for an equipment-free option with our Liquid Soil Loosener. This aerator works to prevent crusting and reduce hardpan while conditioning the soil. With your soil prepared for new turf, the only thing left to do is find the right type of sod grass.
Finding the Right Sod Grass
No matter how well you prepare your soil or take care of your sod if you don’t find the right grass for your lawn, you will fail. You may be asking yourself, "how do I find the right grass for my yard?" There can be many different kinds of grass suitable for your yard. There are a few key factors that can help guide you in choosing the right turf.
Before choosing a new turf, consider these factors:

- region and location
- amount of sunlight
- amount of shade
- desired amount of maintenance
Your region and location will help you narrow down your turf choice and ensure that your grass type is suitable to survive with the proper sod care. There is a transition zone for growing grass that has the climate to support cool-season or warm-season grasses.
If you are working to replace the grass in your yard, you likely have a solid understanding of the amount of sun vs. shade your yard receives. It's good to observe these patterns when choosing a new turf and match your sod choice to these conditions. If your lawn receives a lot of sunshine, you’ll want to consider a drought-tolerant turf that can withstand the heat in the summer months.
The amount of time you wish to spend maintaining your lawn also affects the sod you might choose. Some are more low-maintenance than others, meaning they require less mowing, infrequent watering, or are drought resistant. Though some grass types may require more sod care than others, it doesn't mean lawn maintenance should be a difficult task. We'll discuss more lawn tips and tricks later on.
How to Install Sod

Now that your ground is cleared, fertilized, and softened, it’s time to start laying your sod. Though it may look like an easy feat, installing sod is a labor-intensive process.
When you're working with long, heavy pieces of grass, you want to make sure the installation is proper the first time around. Proper grass installation will set you up for more reasonable sod care and maintenance down the road.
Follow these sod install steps for a smooth process:
- Measure yard: Before you start laying down the new turf, measure to confirm you have an adequate amount of sod.
- Work in strips: The sod grass pieces can be large and heavy but working in strips helps move grass quickly.
- Install strips tightly: When installing sod, you want to create tight seams so the finished product is as seamless as possible.
- Stagger the ends of the strips of sod in different rows
The goal is to have your lawn look as natural as possible. Ensuring you are working with the same type of grass and covering your entire yard tight will give your lawn a complete, cohesive look. There is always more to learn about how to transplant and install sod.
Sod Care Tips: Post-Install
After you’ve planted your new sod grass, the next few weeks will be critical in integrating the turf into the ground. There are a few sod care maintenance items that, when done well, will give your sod a lasting chance. The first step is to help apply as much contact from sod to soil as possible. You can accomplish this contact through sod rolling, which uses a unique, heavy tool that uses its weight and movement to press the sod down. You can also create compaction by stepping on the grass firmly and evenly all over your yard.

Similar to the after-care of new grass seed, plenty of water is vital after installing sod. Aim to water your new turf with at least one to two inches after installing sod. Daily watering will give your sod grass the proper hydration it needs to become established. To ensure a consistent watering schedule, pre-program your sprinklers if possible.
Once you go back to your weekly lawn maintenance schedule, you may be wondering how soon your new sod will need a trim. There are no rigid rules to follow for watering new sod, but wait a week or two for your new lawn's first mow.
How to Properly Dispose of Sod Grass
Once you’re finished installing sod, you may have some extras or old grass that is no longer needed. There are a few different ways you can properly dispose of sod grass:
-
Create a grass pile to use in composting: You can provide organic
enrichment to other plants with the composted turf.

- Relocate the grass: Ask neighbors or local friends and family if they can use the sod.
- Create a foundation for new plants: Composted grass can be used as a base to plant flowers or vegetation.
If you're having trouble getting rid of a considerable amount of sod that is not easily compostable, check local online marketplaces to sell or give away grass. New sod can be expensive and healthy grass can have a second life in a new yard.
Sod Care for Cold Weather
We've discussed the best time to lay sod, but sometimes, timing doesn't always line up with your grass care needs. Laying sod in winter is less desirable than in warmer months, but if you have to install sod later in the year, these tips can help you with proper sod care for the winter. Dormant sodding involves planting sod in temperatures cooler than 55 degrees.
 With the dormant sodding technique, the sod roots are dormant through the winter but warm up as the season progresses. Once your planted sod has made it to spring, you will start to notice new growth, just like with existing grass. Aim to plant new grass at least six weeks before the first frost of the year.
Now that your new sod is planted, it's time to take the proper sod care measures to make sure your grass will last through the cold. To protect newly laid grass through the winter, apply a fertilizer treatment before the first frost. This treatment will work to feed the grass for the upcoming winter months. Adequate watering is needed for proper sod care, even through the winter months, because the grass roots are not yet developed.
Making the Most Out of Your Lawn Care
The more you understand how lawn care products work to help your lawn, the better you can adjust your routine to suit your grass's specific needs. When it comes to sod care, taking care of your new lawn is critical for long-term success. With our liquid lawn and sod care products, you can give your grass the same nourishment as traditional methods but with a more straightforward application.
If you are working to reinvigorate your established lawn or looking for guidance on starting over with new turf, let the expertise of Simple Lawn Solutions help guide you to a greener, healthier yard.



1 comment
Great guide! I appreciate the clear steps on preparing and installing sod. Definitely feeling more confident about tackling my lawn project now.