Are you looking to fill bare spots in your yard with grass? When it comes to transplanting sod, it’s not all rainbows and butterflies. This task is not easy labor and can be very time-consuming - but with our help, we hope you find this a little easier!
Don’t let the task of planting sod keep you from making changes to your yard.
We’re offering you our six tips and considerations for transplanting sod:

- Timing your transplant
- Tools
- Preparing your soil
- Working with sod effectively
- Compaction
- Aftercare
And after you’ve successfully transplanted new sod, there are vital factors to consider adding to your lawn care routine for healthy, green grass.
Timing
When it comes to moving sod around your yard, timing plays a huge role. The best climate for sod transplanting is typically early spring or fall. Pay close attention to the type of grass you’re working with to ensure you follow this rule of thumb. If you’re unsure of the specific type of grass, understanding if you are using cool-season or warm-season grass is an excellent starting point in finding out the grasses growing seasons. If you are unsure of your grass type, you can reach out to your local department of agriculture extension for guidance on identifying grass types in your area.
Tools for Transplanting
Besides a partner to help you out and some elbow grease, there are only a couple of other tools that will help moving sod go a bit smoother. You don’t have to be a lawn care lover to have these tools - some might even be lying around your garage!
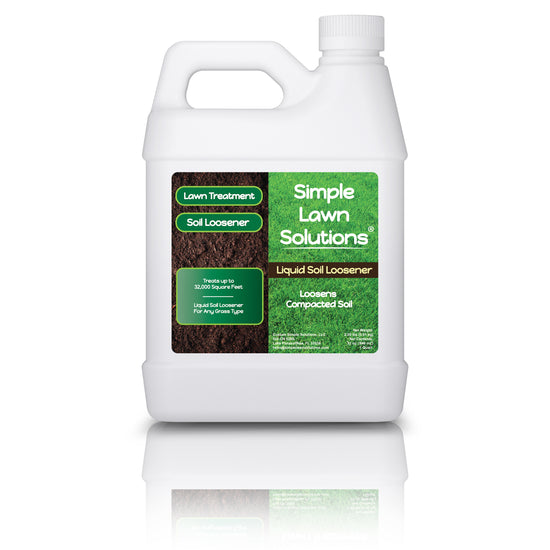
 A garden tiller or cultivator tool is useful when preparing the ground as it easily breaks up any compacted soil and loosens the area for new plants or grasses. Just make sure that you level the soil so it is flat before laying sod.
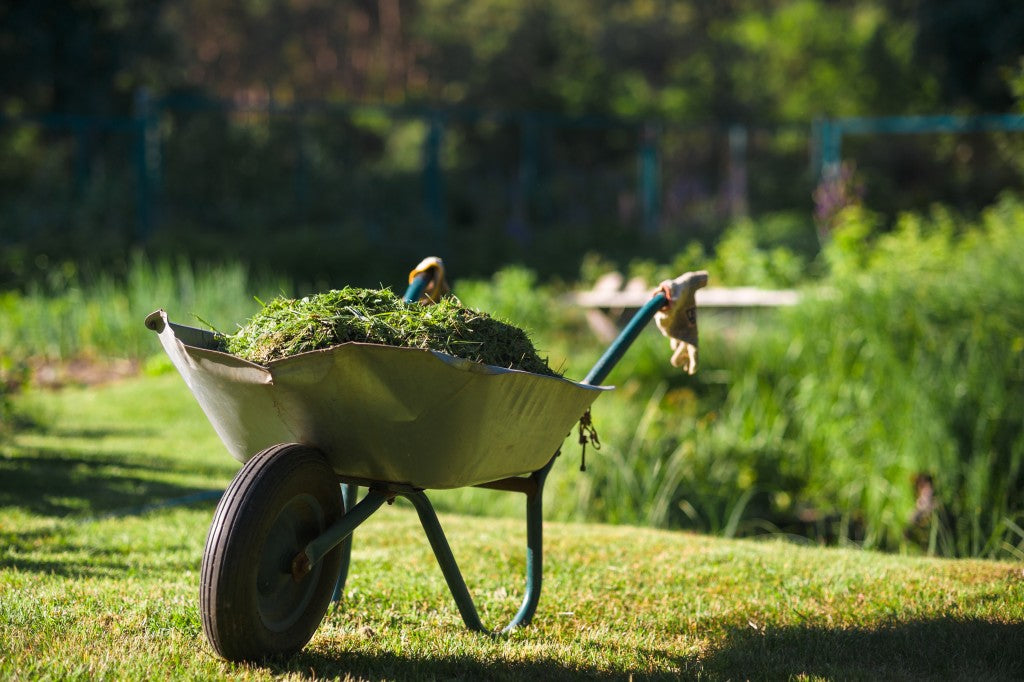
Use a shovel or a wheel barrel to move the sod around your yard. Stay tuned for how you can use your shovel as a measuring tool to prepare your sod in the right-sized strips.
Loosely level out the soil with a garden rake, following the tilling or aeration process. You’ll want to be sure to rid the ground of any hilly or bumpy areas. Make sure to account for and level for proper drainage for your backyard.
A lawn roller can aid in the compaction of the sodded grass to the soil. You can also step around the area to provide pressure. With all of the necessary tools to get started, you can begin to prepare your soil.
Ground Preparation
Soil preparation is vital to a successful sod transplant. Follow our step-by-step guide on how to prepare the ground for new sod:
- Clear the ground
- Fertilize as needed
- Soften the soil
When clearing the ground, be sure to pull any weeds and remove any unwanted grass from the area. Leftover debris will be a barrier between the new sod and the soil, which causes issues when the grass tries to form roots down into the soil. Be sure you are also removing any rocks, sticks, or debris along with the plants.
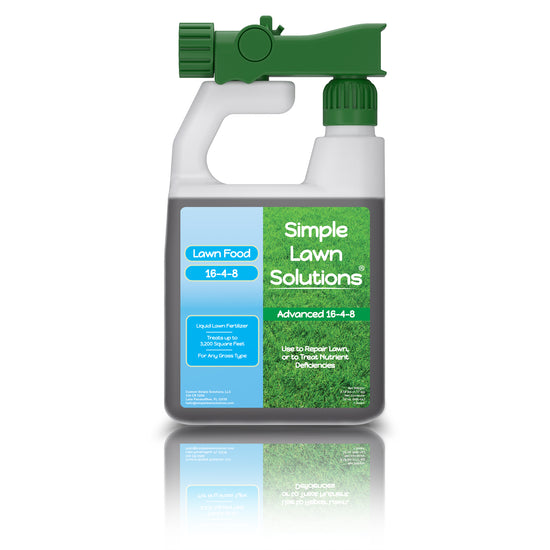
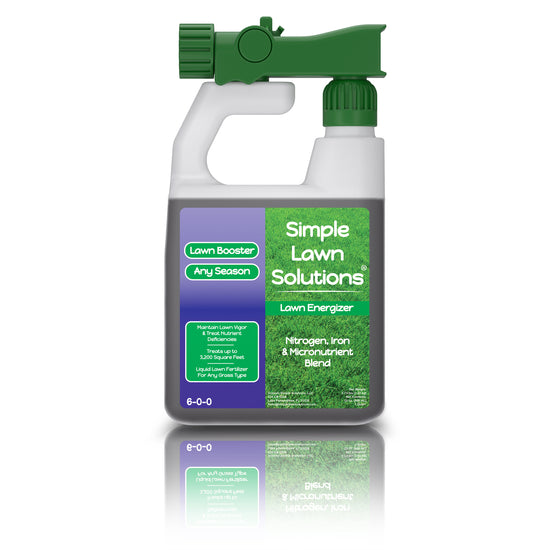
At this stage, you can also conduct a soil test to get a good idea of the pH and existing nutrients in your soil. A soil test can be done every year as a part of your spring lawn care routine. Our collection of lawn food fertilizers offers a variety of nutrient blends for maximum soil health. There are several benefits to using a liquid fertilizer over granular - see why you should go liquid.
Optimal soil conditions for transplanting new sod help ensure that your new grass will take root without issue. You can also follow this ground preparation guide as a starting point for planting new grass seed and even use some of these tips in your weekly lawn care.
Working in Strips
After these steps, you’re ready to lay some sod. Using your shovel, cut the sod into strips that will later roll up for easy transport. Keep cutting and rolling up strips until you have enough sod to cover the bare area. Using the strip method makes transporting sod more manageable.
A tip to make sure your strips are not too big is to cut them at the same width as your shovel. If you want to get fancy, you can purchase a sod-cutting tool, but it’s unnecessary for routine lawn care, so don’t feel bad if you don’t have it on hand.

When you’re unrolling your sod strips in the new area, make sure you work gently when aligning the sod together. You may have to play around with the spacing a couple of times. Be extra cautious during this step to avoid ripping or tearing any of your sod pieces.
Compaction
After laying and spacing the sod, using a compaction technique helps to stick the sod to the ground. We recommend the use of a moisturized lawn roller to flatten the sod. If you don’t have this tool, you can step firmly around the ground repeatedly for the same effect.
No matter what tool you are using, you want to make sure that the ground is tapped down enough and making good contact with the soil.
Watering Your New Sod
 Adequate and consistent lawn watering is critical to achieving a successful sod transplant. Like compaction, watering the area will further assist in creating contact and closeness between the sod and soil. Newly seeded or sodded grass is at a higher risk of drying out and dying because there is no established root system.
Whether you are working with newly laid sod or not, watering is vital for any homeowner’s lawn care routine. Adequate watering helps to steer away from a dry lawn. Consider adding a scheduled lawn watering a few times a week for proper lawn care.
Are you not sure if your lawn is getting enough water? Check to see if your current watering schedule is enough for your grass.


